Green Lantern's MG1.6QR sock
removal & loose wire repair
Before we start,
[Relax, if ďIĒ can do this anyone can. In fact youíll find
the most difficult part is removing all the darn staples!]
Tools youíll need:
- medium head screwdriver
- hammer
- pliers
- staple gun with Ĺ inch staples
- 3M 77 adhesive spray (Home Depot, et al)
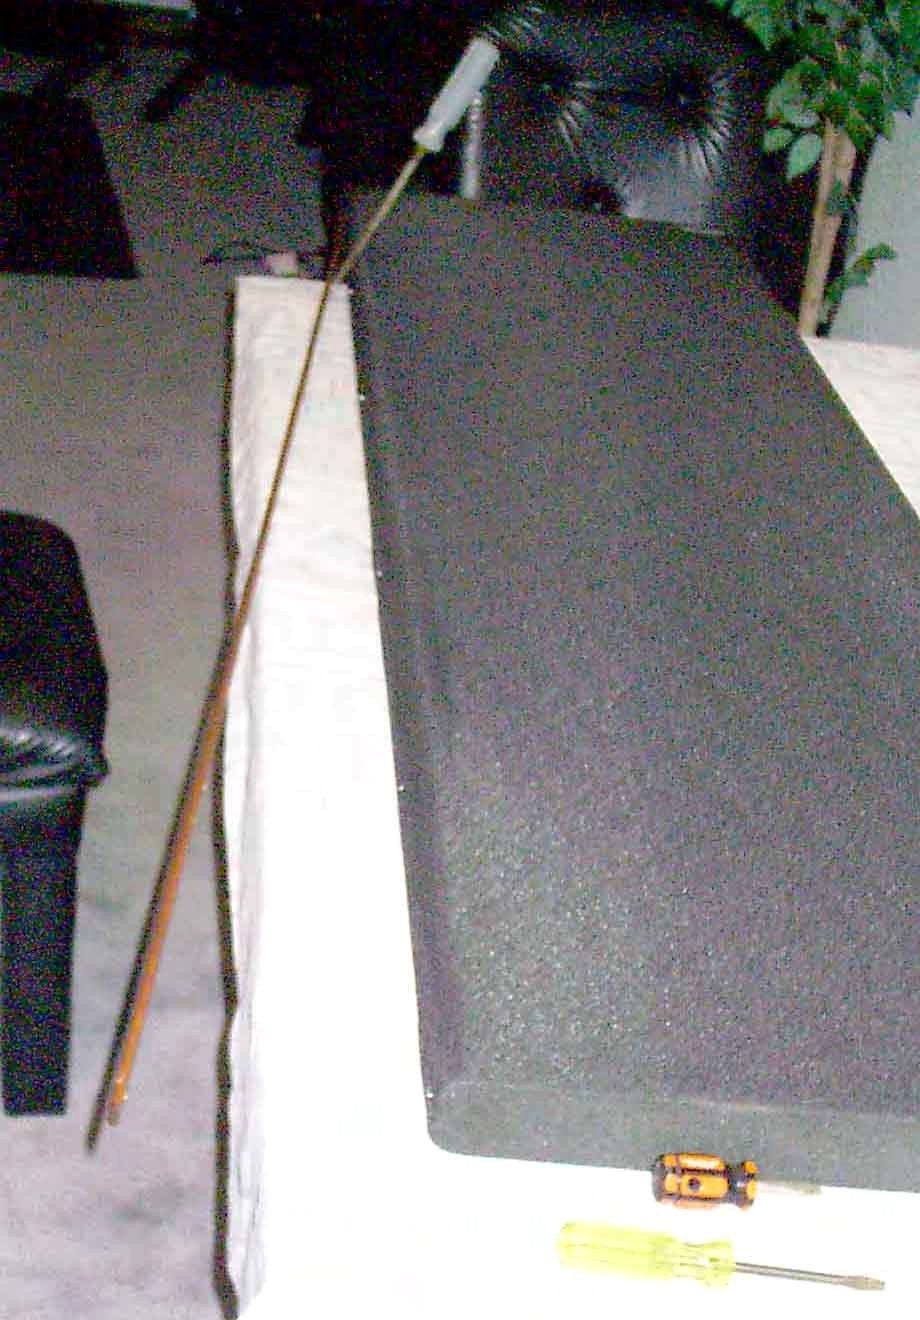
Step 1.
Gingerly Ďtapí loose the side trim (fig 1)
Step 2.
Carefully pry away the wood trim on each side (fig 2) careful the wood trim is fragile! (Tip: Although mine did not break, replacement of wood trim would be quite easy- Home depot has Ĺ inch molding along with a cherry stain finish would work just fine).
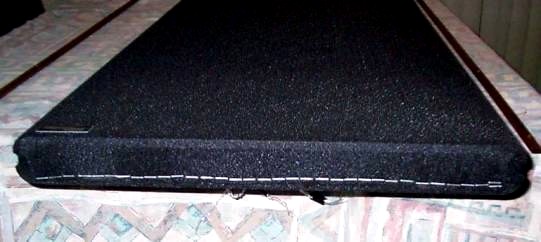
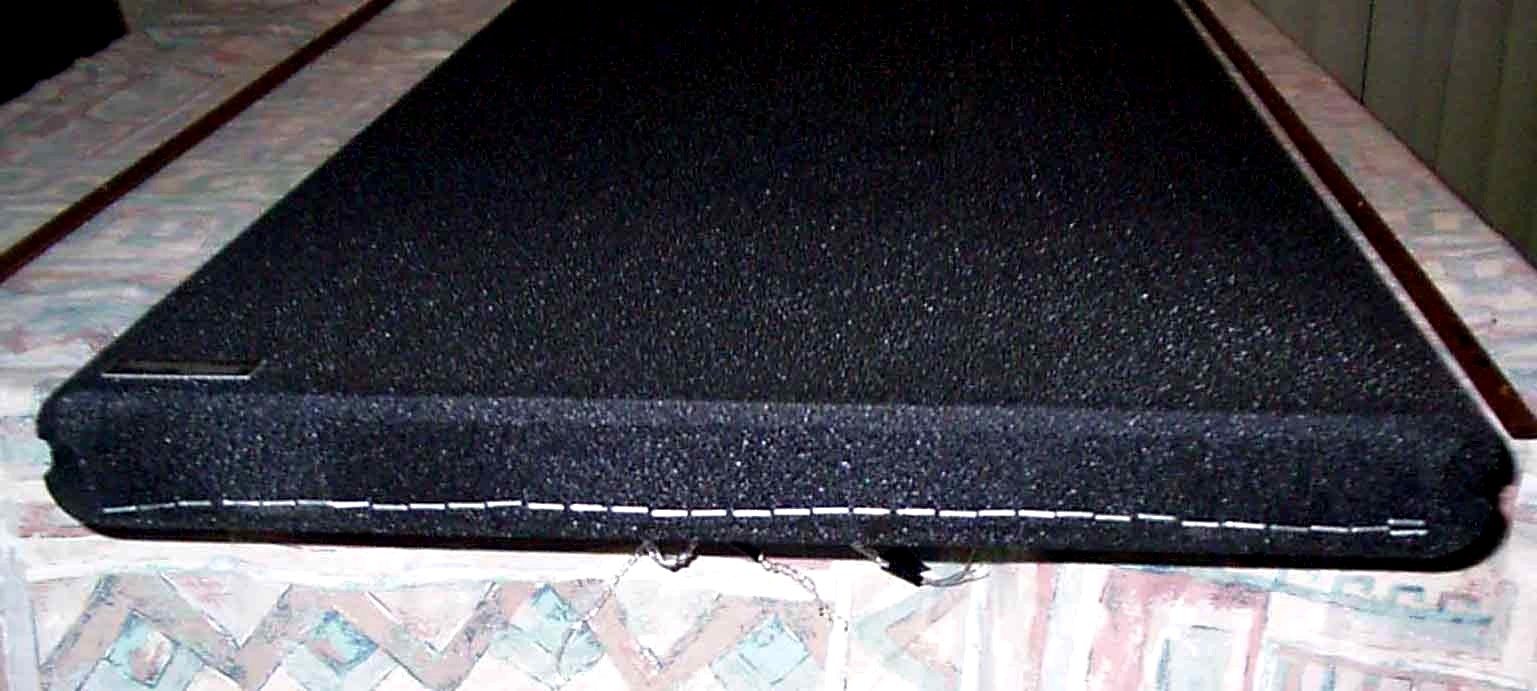
fig 3
Denote staples on the bottom (fig 3).
Step 3.
As with wood trim, gently tap away staples and remove with pliers. Discard old staples. Note: there are (2) rows; those seen on top and another set underneath totaling apprx 70-80 staples!
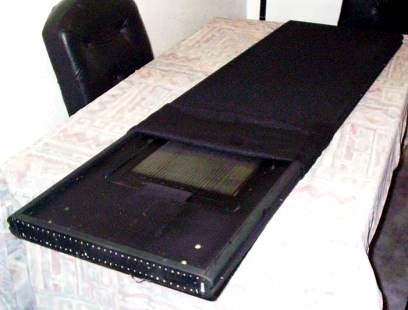
fig 4
Step 4.
Now you may Ďundressí her by carefully pulling her Ďsockí upwards. Be careful of the wood trim finishing nails on each side which remain prong and will snag the cloth. (fig 4)
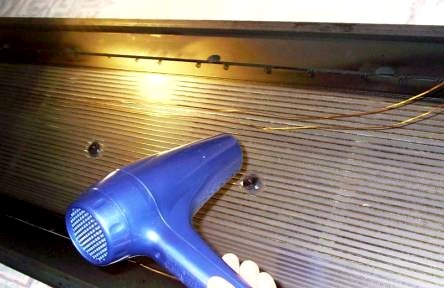
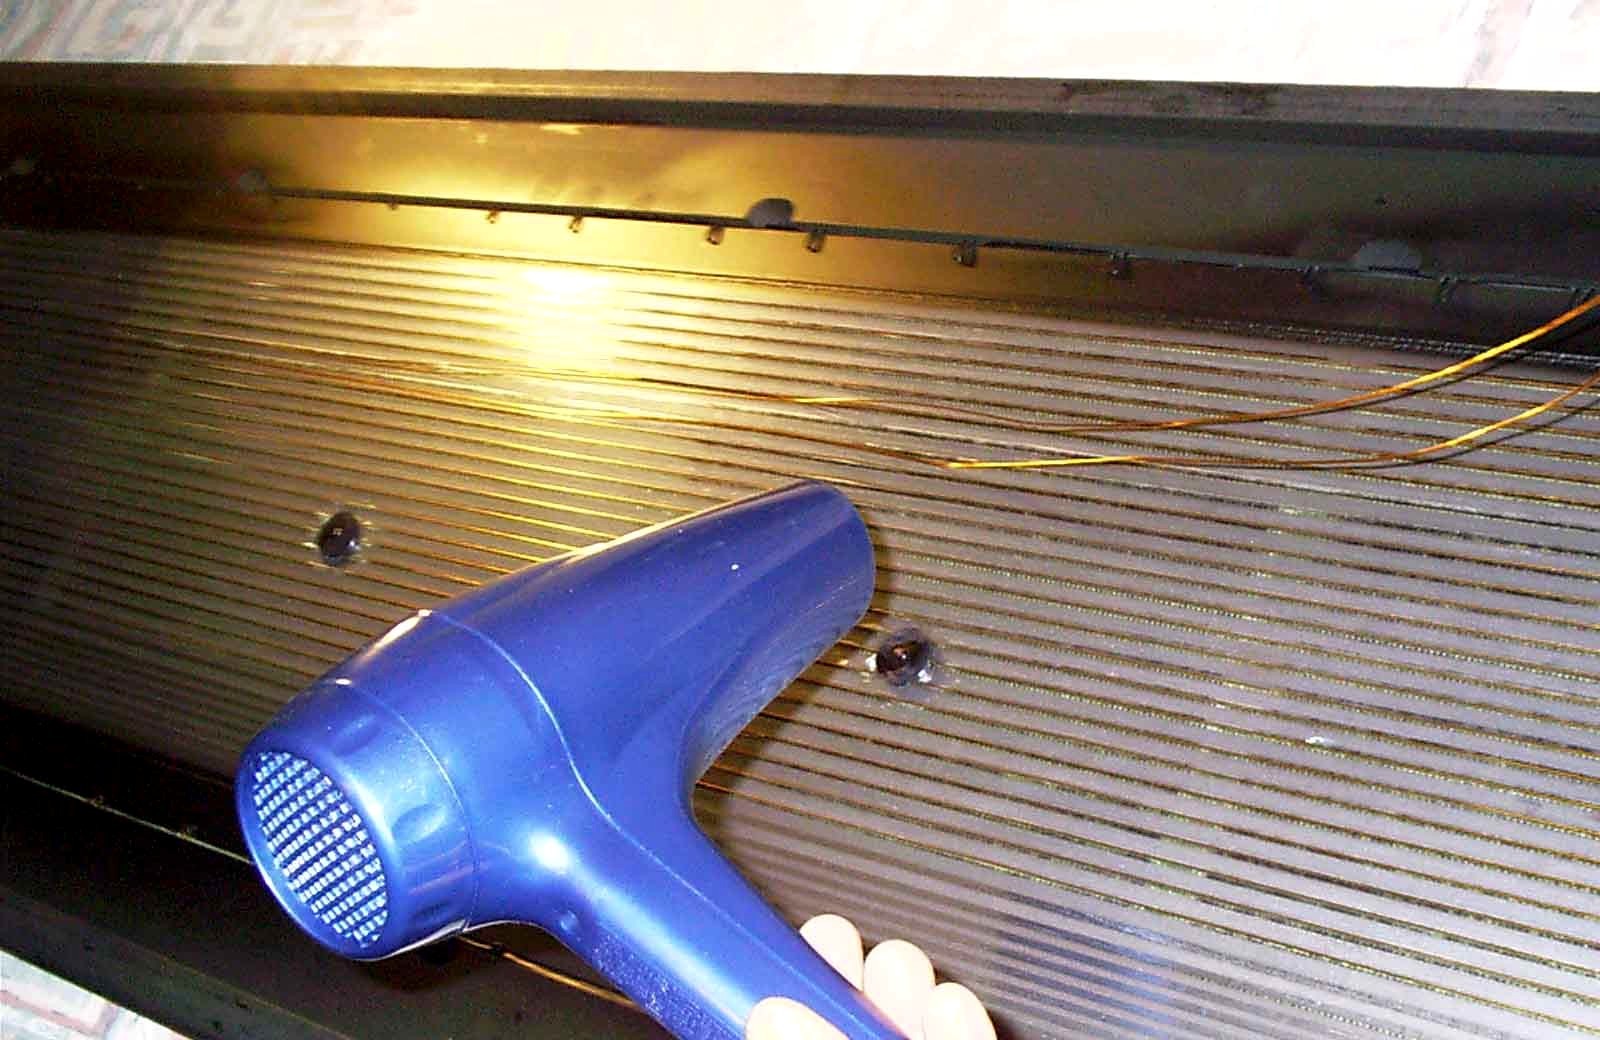
fig 5
Step 5.
Inspect surface area. Make sure there are no tears, rips or damage to the mylar surface.
Identify and isolate any loose wires. Gingerly heat the surface of the mylar with a handheld blow dryer under low heat while Carefully undoing the wire. Straighten if needed (fig 5).
( Caution : Easy does it; damaging the underlying mylar will lead to irreversible damage and will require service from the factory!! This membrane is extremely thin and fragile and is the nucleus of the speaker! )
Note : There are post online indicating folks using scotch tape to repair torn mylar. Do so at your own risk-but then again; what do you have to lose?
Step 6.
Separate (if necessary) and straighten out the loose wire and gently pull to the end and adhere with glue in alignment with the other wires.
Step 7.
The remaining length of wire must now be glued to the mylar with non-copious amounts of 3M 77-spray adhesiveĻ. Let dry at least 12 to 24 hours before using panel.
Final step 8.
You may now apply new sock or reaffix the old by reversing the above steps for removal. Restaple bottom using staple gun and re-tap trimming into place.
Hey now weíre done; wasnít that easy?!
Ļ There has recently been debate about which adhesive to use. Search the archives at Planar Asylum for references.