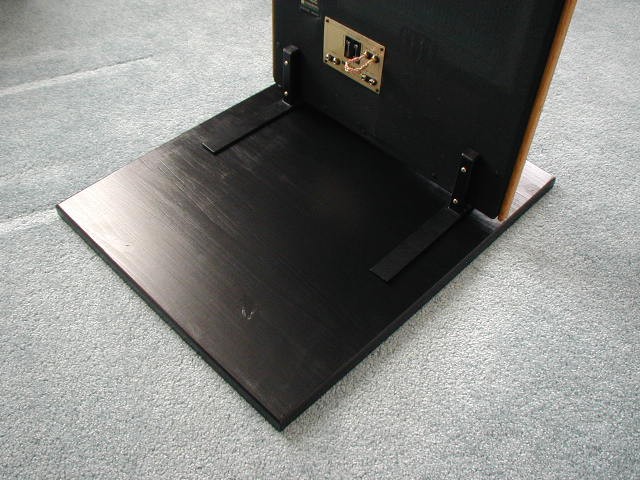
|
The base is five-quarter edge glued pine. I bought a 30" x 60" board
and cut it 24" x 30". I then used the remaining 12" x 30"
piece for the bases on my DIY room lenses. After rounding the
edges with a router, I painted them semi-gloss black.
|
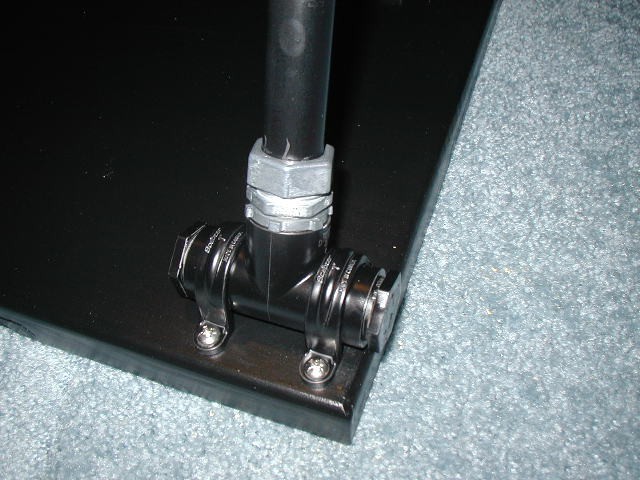
Corner braces are 3/4" PVC T's with 3/4" compression fittings secured
with PVC straps. See Green Lantern's
original design.
The braces are 3/4" galvanized conduit flattened and drilled
at the top end.
|
|
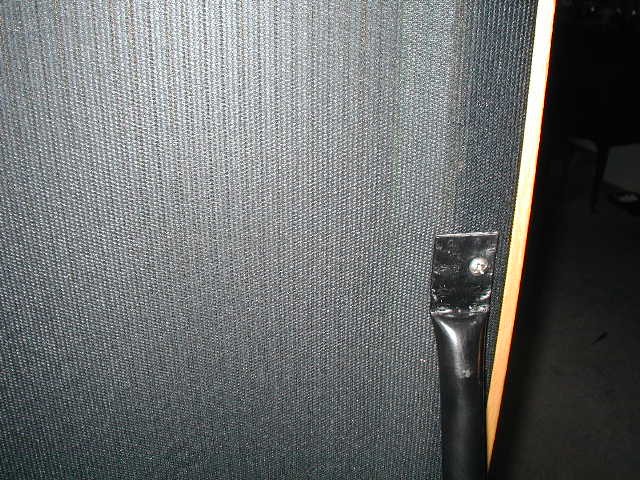
I drilled the hole off-center to move the brace inward slightly
so it would line up better with the bottom brace. Next time I
would just drill it in the center so it doesn't torque, but
it's OK like this. I used weather stripping from an auto parts
store between the brace and the speaker. The attachment point
is the existing trim screw hole. Stainless steel screws...
snug, but not so tight that they completely compress the weather strip.
|
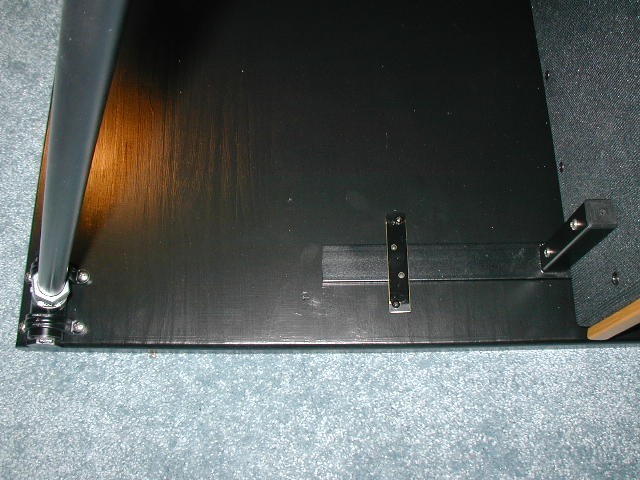
Mending plates with weather strip secure the stock stands to the base.
I used awning screws with pre-painted black heads.
|
|
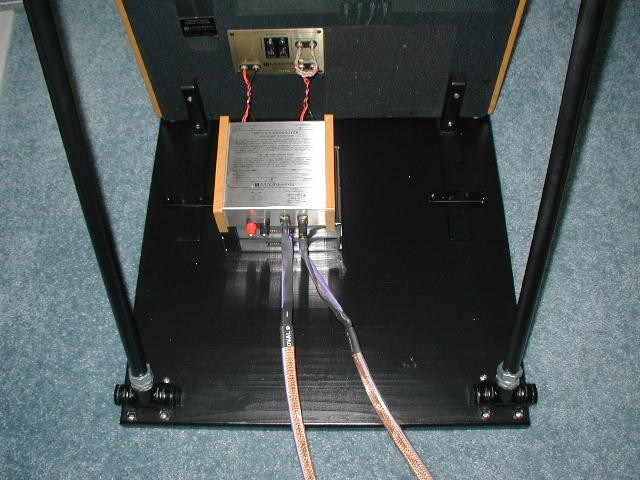
The finished stands from behind. I'm running bi-wire Analysis Plus
Oval 9's and double 16 AWG solid silver twisted pairs between
the XO and the speaker. The tweeter attenuator is Chris
VenHaus Cat5 braided copper.
|
Stands in service. I was expecting the bass response to improve, and
it did. I wasn't expecting such a HUGE improvement in the
imaging and high frequencies. The overall improvement in the
highs was a surprise, but perhaps the tweeter is more accurate
when the entire panel is not vibrating so much from the bass
and midrange panels. The focus and positioning of the
insturments and vocals in space improved tremendously as well.
Overall, a great tweak!!!
|